Your site is probably illegal
Many people think of website analytics as just another add-on. But it's much more complex than that. Learn how to make analytics protect the privacy of your users and learn how to do it easily.
February 5, 2022 - Loading...

Privacy on the internet is a serious issue as developers we have the responsibility to respect it, this includes things like using secure communication protocols such as HTTPS as well as how and where you store user information.
But something that many of us don't think about is the analytics, which in some part are sensitive information of our users and around the world, some laws regulate it, in this article we will talk a little about why analytics can make your site break the law, what alternatives we have, and how we can implement secure analytics on your website.
Why analytics can make your site break the law?
Analytics is a great way to improve your website, by tracking pageviews, unique visitors, and other statistics you can get a better understanding of how your site is being used and make necessary changes.
But while analytics is a great tool, they can also be used to track and spy on users, which can be a privacy concern. This is why many countries have laws regulating the use of analytics, in the European Union the General Data Protection Regulation (GDPR) is a law that regulates the use of analytics and other forms of data collection.
What are the requirements of GDPR?
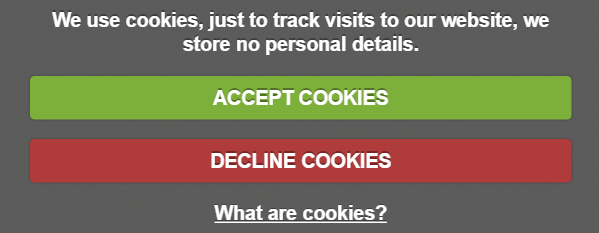
The GDPR requires that websites get user consent before collecting any data, this includes things like cookies, analytics, and social media buttons. User consent must be explicit, meaning that the user has to actively agree to have their data collected, it cannot be implied or assumed.
Widely used services such as Google Analytics do not comply with these laws so on our sites we must add things like cookie banners and in some countries these services become illegal.
And user data must be protected, it must be stored securely, and accessible only by authorized personnel. If a website doesn't comply with the GDPR it can be fined up to 4% of its global annual revenue or €20 million (whichever is greater), so it's important to understand and comply with the requirements of the GDPR.
What alternatives do we have?
If you want to collect analytics data but don't want to break the law, there are a few alternatives you can use.
One alternative is to use a third-party analytics provider, these providers are GDPR compliant and will ensure that your data is collected and stored securely.
Splitbee
Splitbee is my favorite analytics service and the one this site uses, not only is it privacy-friendly and GDPR compliant, but it also allows you to create conversion funnels, get real-time analytics, manage events easily, do A/B tests and create automation like sending emails every time an action is executed (which is what I use in my contact form).
Plus it allows you to do all this in its free layer with 2.500 events which also makes it ideal for blogs and small sites, and if your site moves more traffic you can upgrade to a paid plan that allows you to have much more information about your visitors.
In this blog, we will also learn how to integrate it into your Next.js site so you can use it quickly.
You can visit their site here.
Fathom
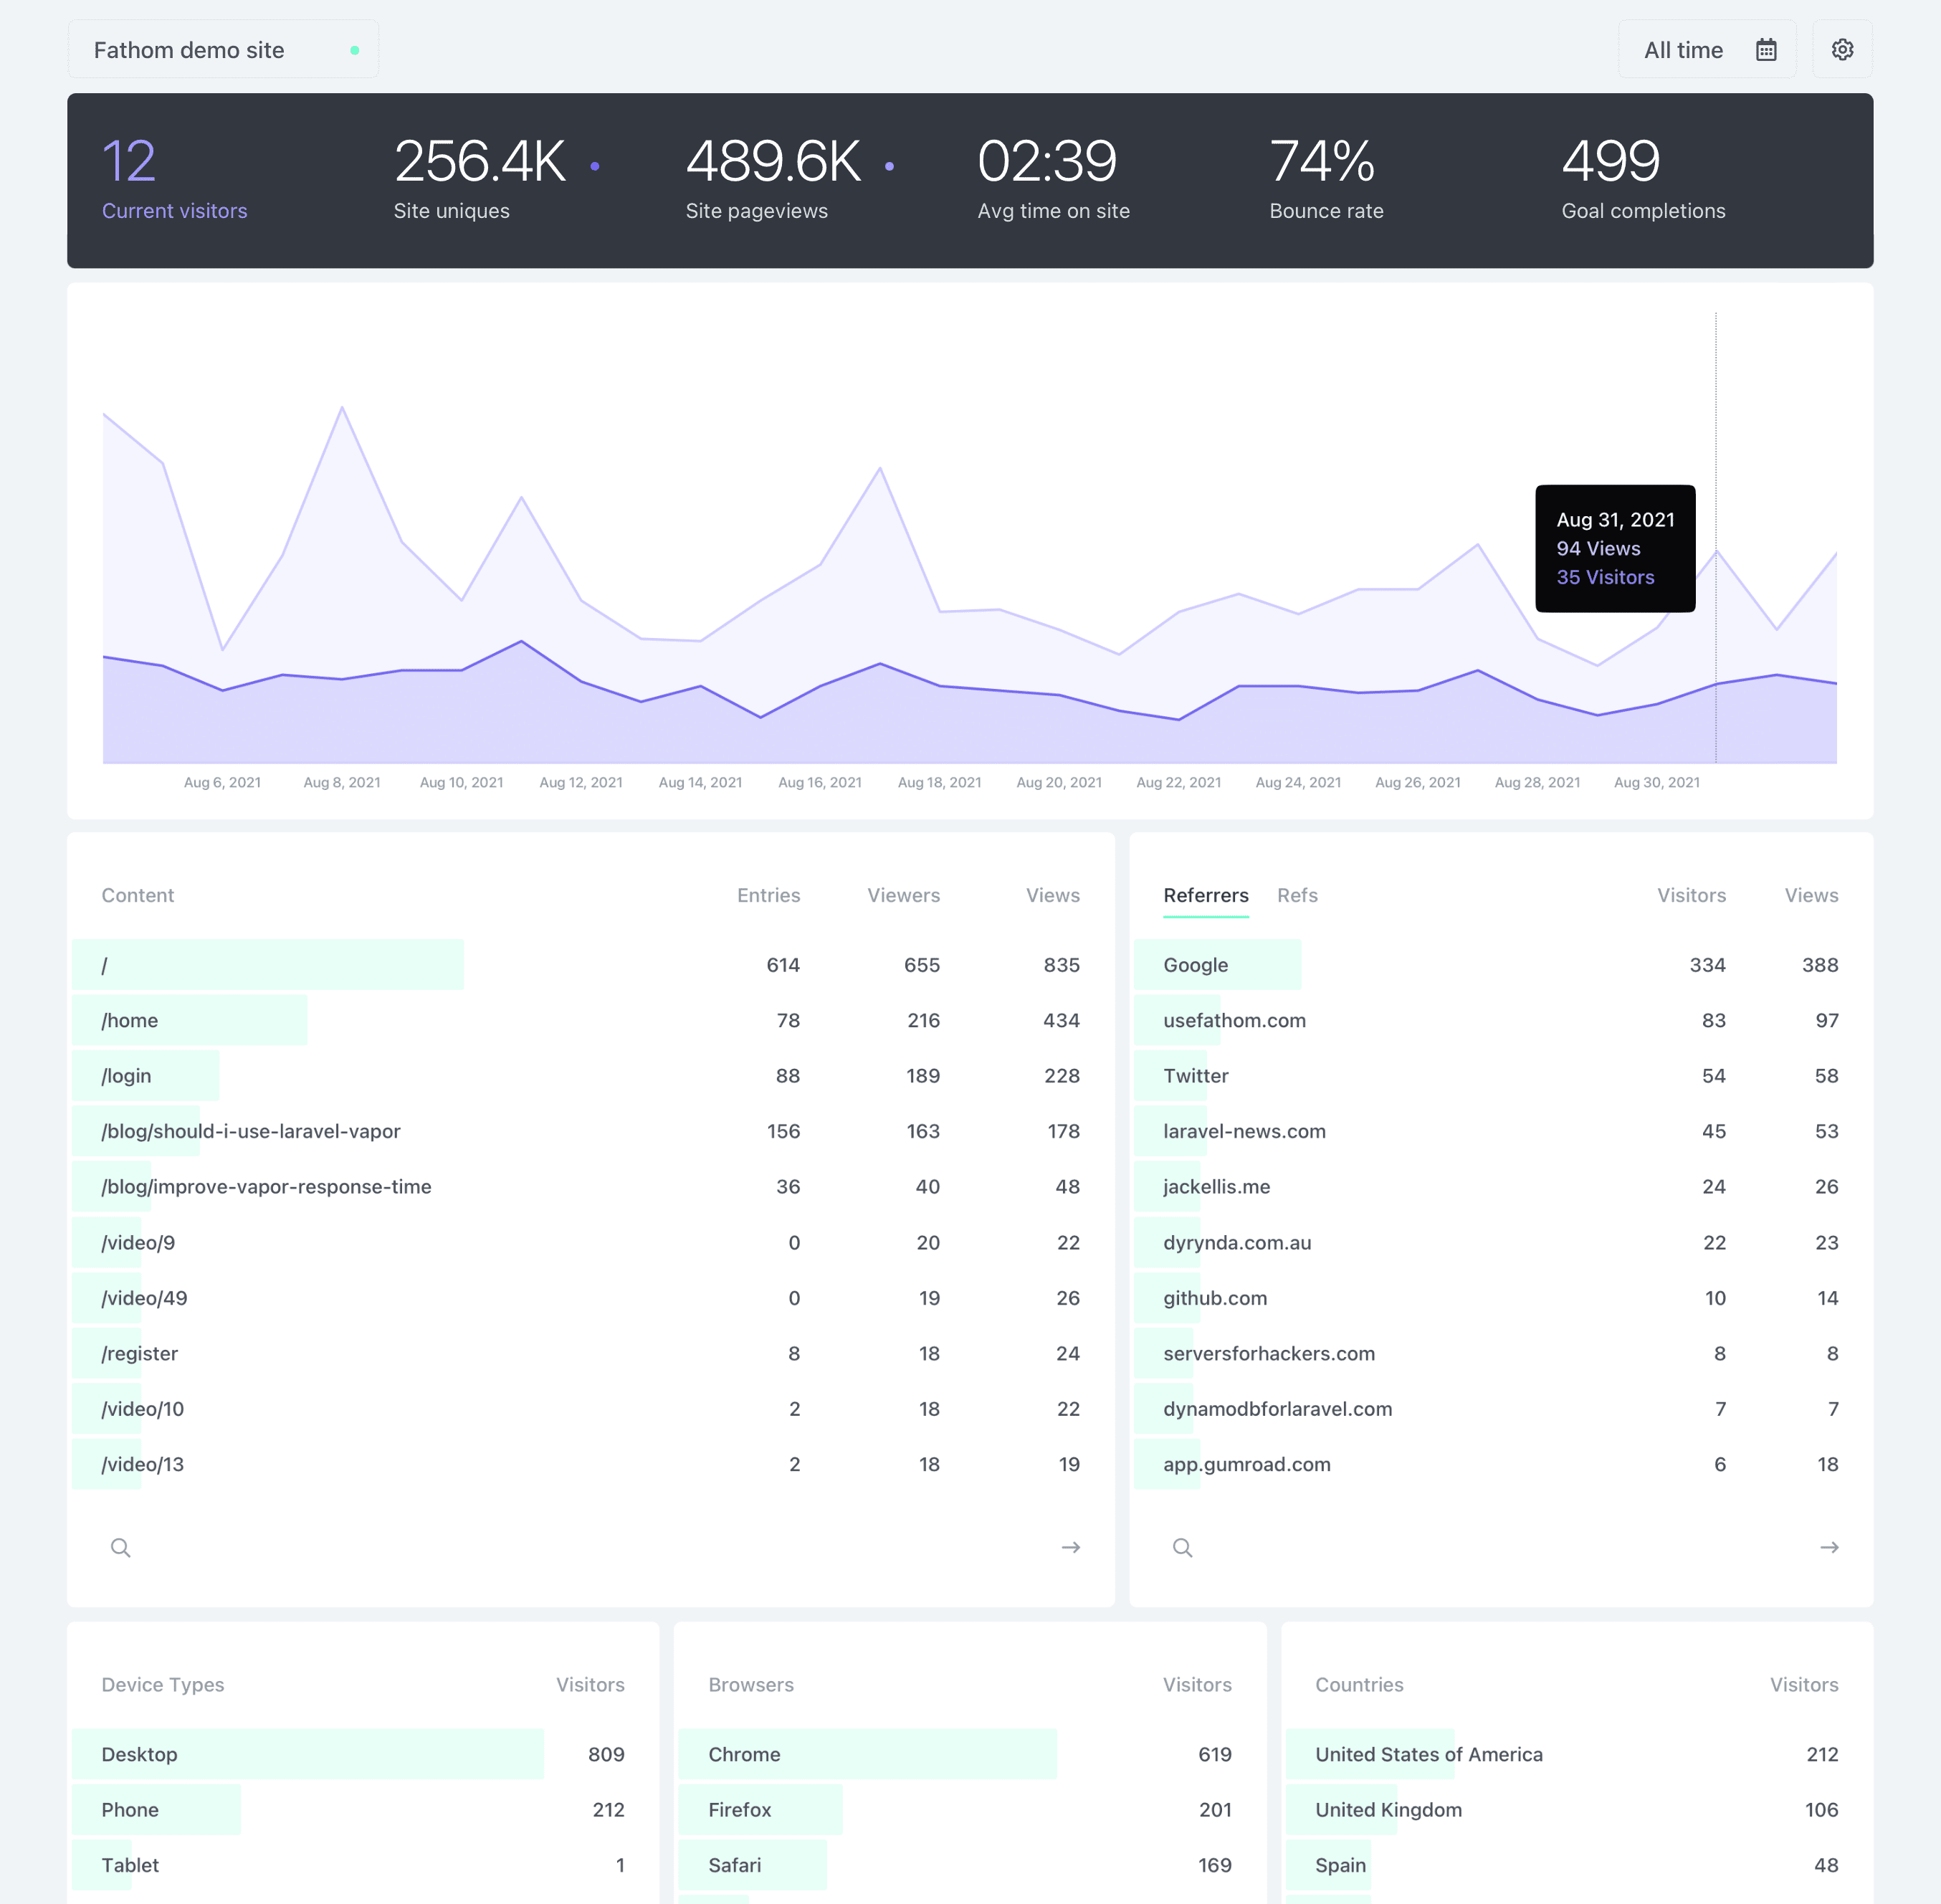
Fathom does not have a free version, but it is still a very solid option since paying 14 dollars you can register up to 100.000 views. It has a simple interface but does not include automation, experiments, user profiles, and more than Splitbee does, I recommend this service if you want something as simple as possible.
You can try it here with 10 dollars free credit.
Simple Analytics
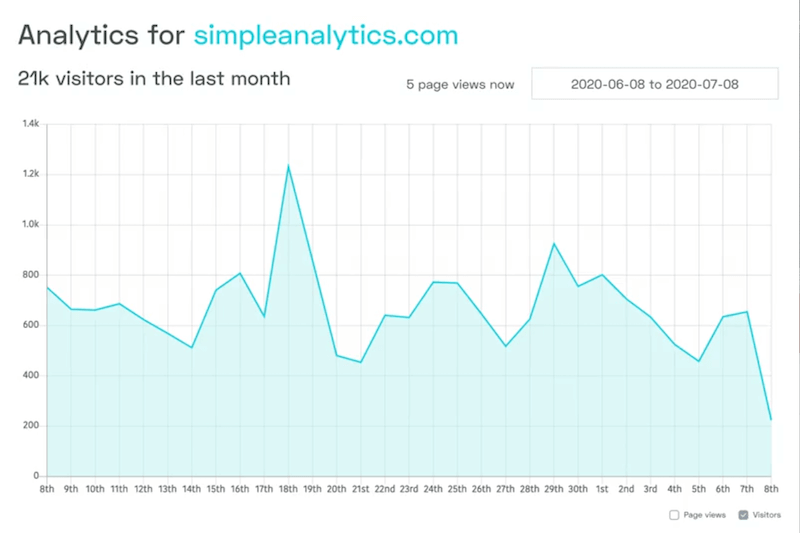
Simple Analytics is another alternative, this one is a bit more expensive than fathom with a basic plan starting from 19 dollars, but this one allows you to have analytics on as many sites as you want, plus it has some interesting features like knowing from which tweets your visits come from. otherwise, it is very similar to Fathom.
You can try it here.
Another alternative is to use a tool with server-side analytics like Netlify Analytics, this tool allows you to collect analytics data without using cookies or other tracking technologies.
And finally, you can also use a tool like Matomo, which is an open-source analytics tool that you can host on your server and configurations.
Implementing Splitbee in a Next.js site
Now let's make a small Splitbee example in Next.js.
Before we start we just need to create an account, you can go directly by clicking here.
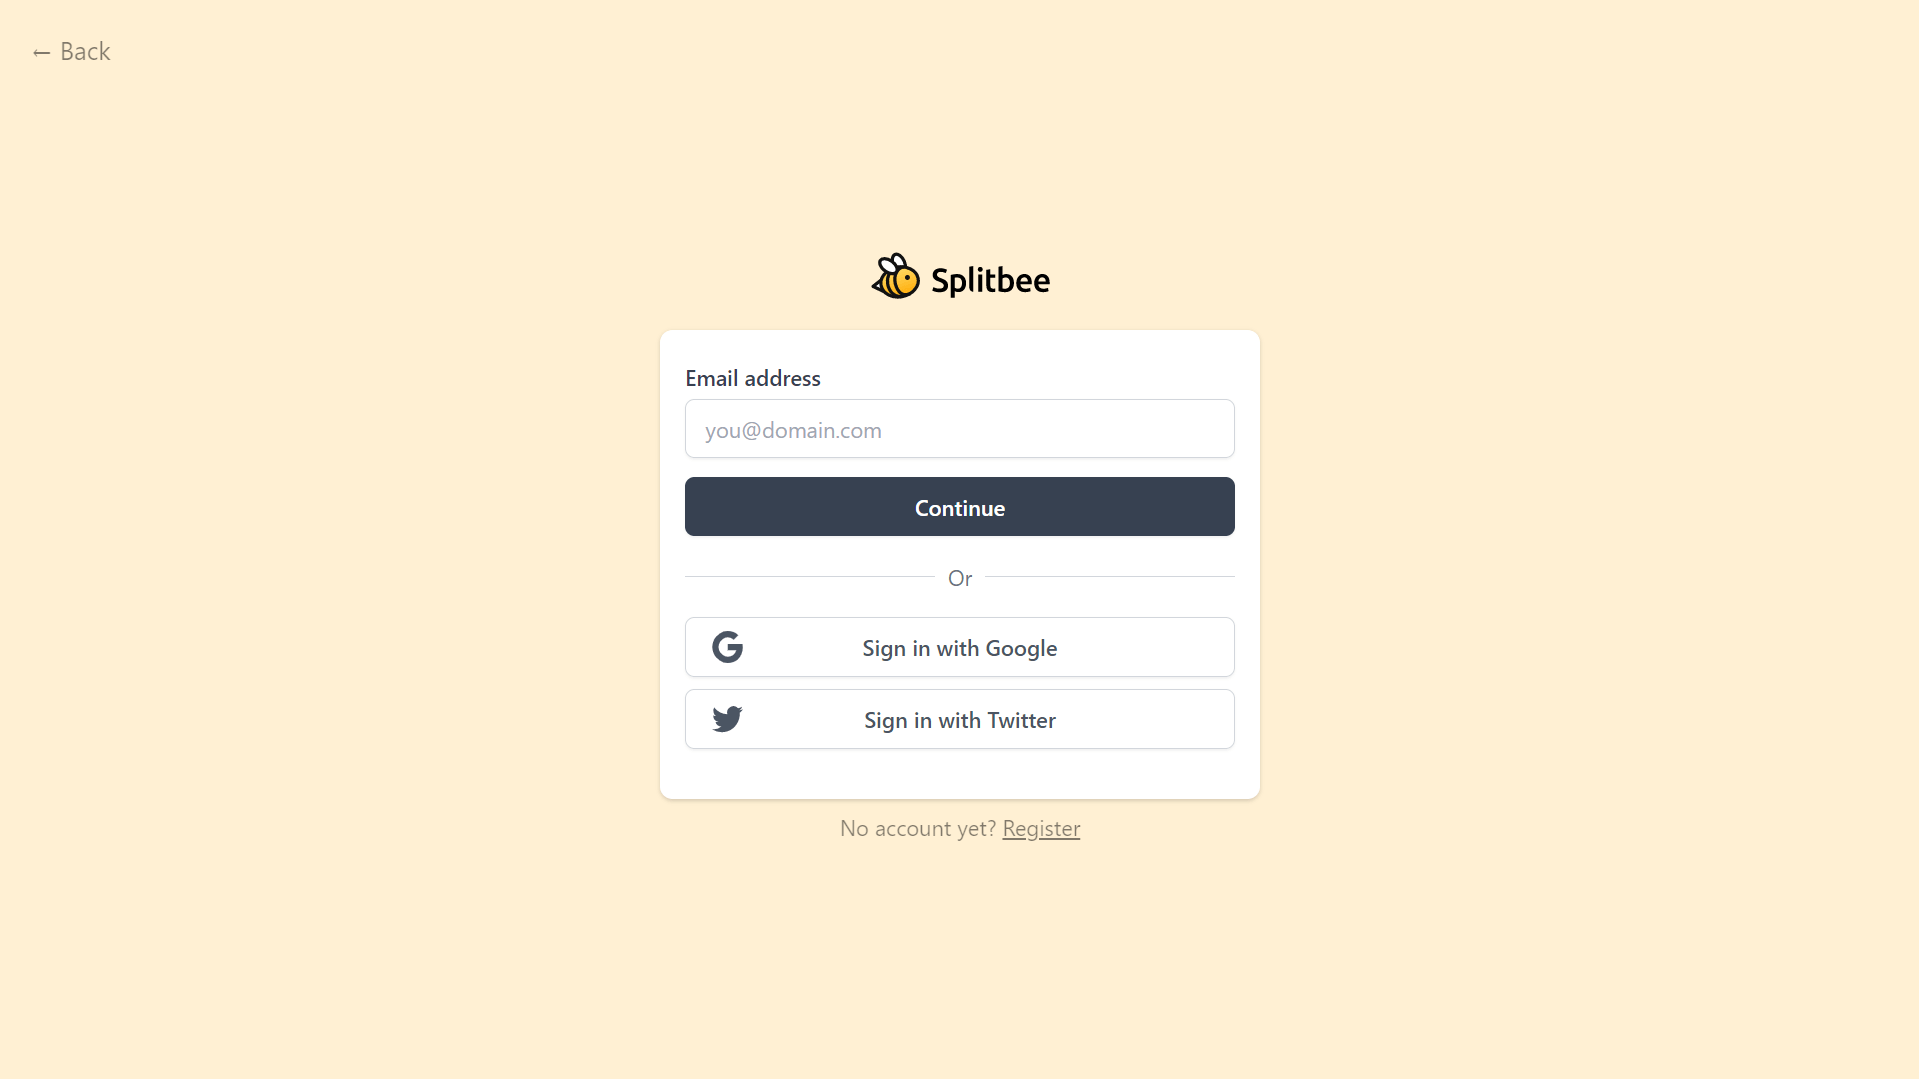
When we have registered we must create a new project, just put a name and a URL, and we would have everything ready in this part.
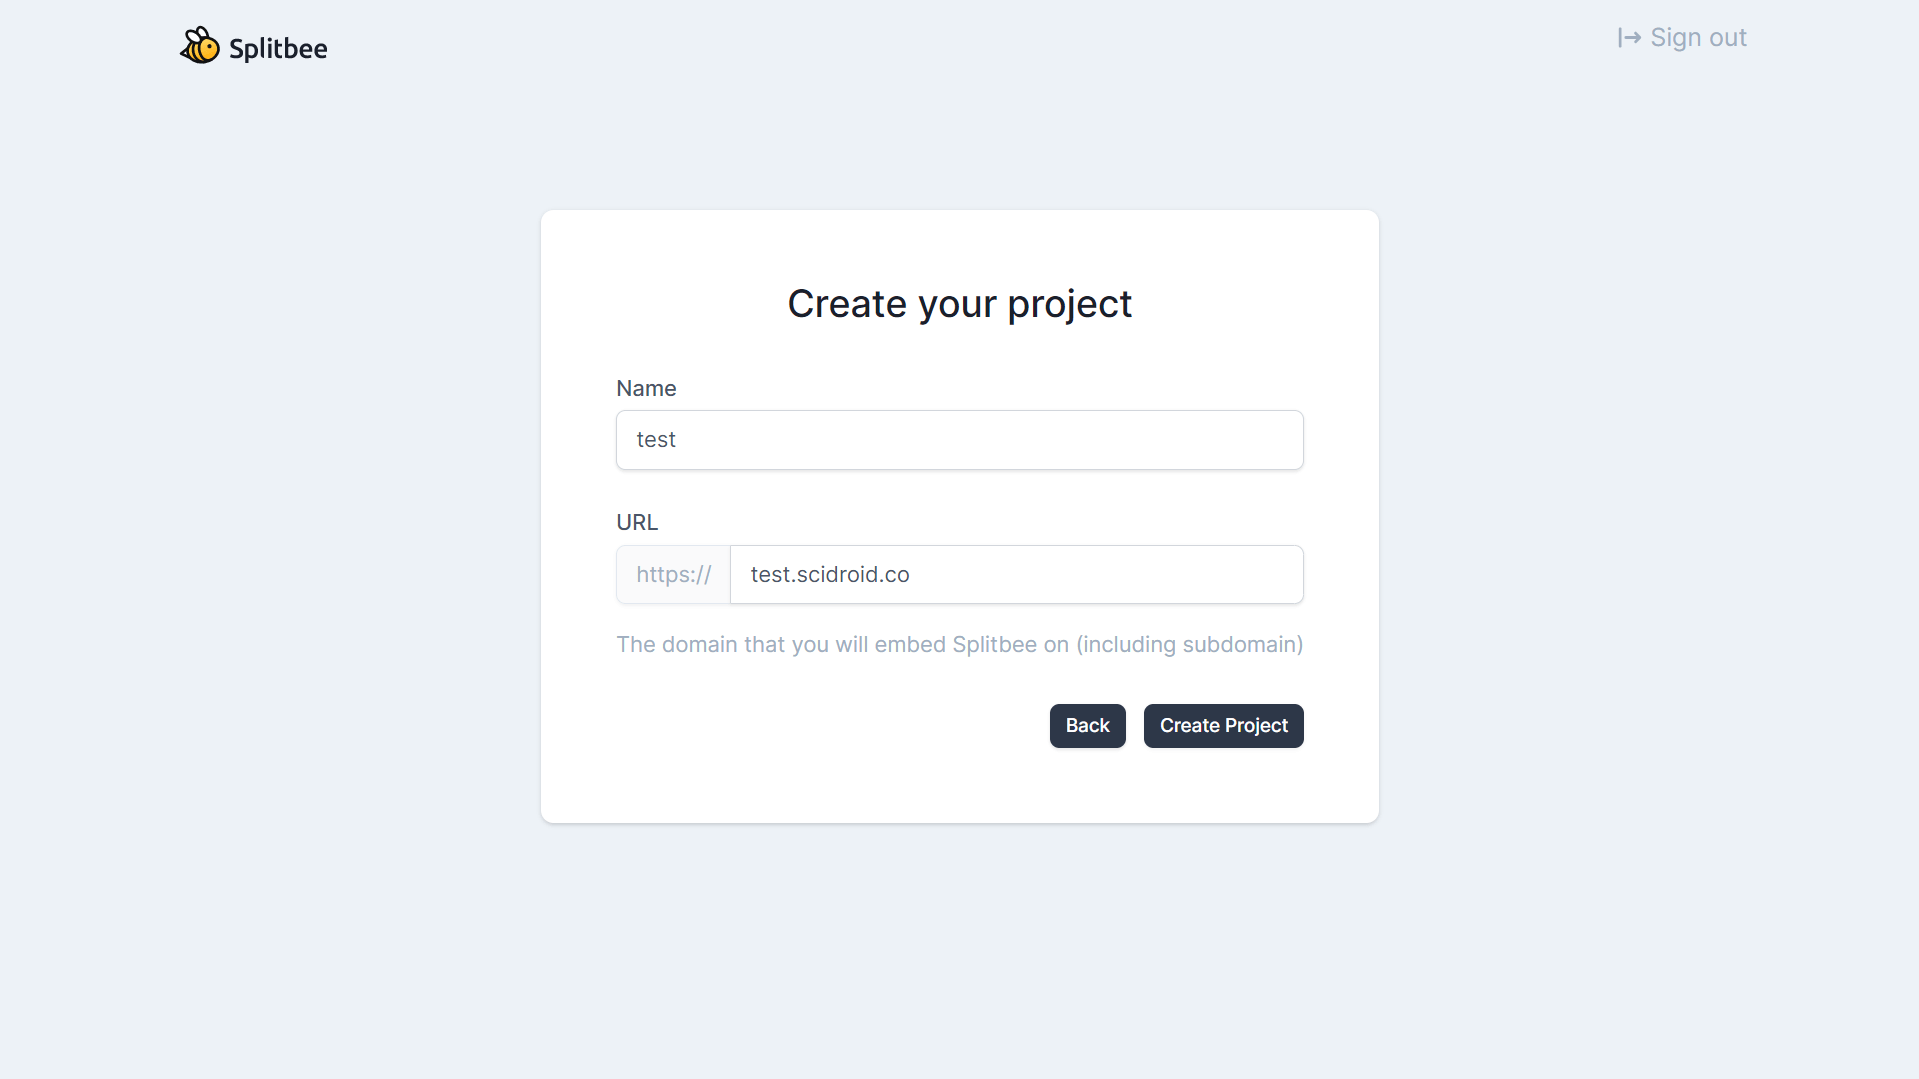
Since we have a project let's start with the code.
First, we must install the packages we need.
yarn add @splitbee/web

// or

npm install @splitbee/web
Now we will use one of the functions of Next that will allow us to make a kind of proxy by allowing us to make routes in our site that redirect to another part, in this case, we will do it to store the script and the endpoint of the API in our site.
// next.config.js

const rewrites = async () => {
  return [
    {
      source: '/sb.js',
      destination: 'https://cdn.splitbee.io/sb.js'
    },
    {
      source: '/_hive/:slug',
      destination: 'https://hive.splitbee.io/:slug'
    }
  ];
};

modules.exports = {
  rewrites
};
Now we will create a special Next file that will allow us to add the Splitbee script to all the pages of our site.
// pages/_app.js
import { useEffect } from 'react';
import splitbee from '@splitbee/web';
const App = ({ Component, pageProps }) => {
useEffect(() => {
splitbee.init({
scriptUrl: '/sb.js',
apiUrl: '/_hive'
});
});
return <Component {...pageProps} />;
};
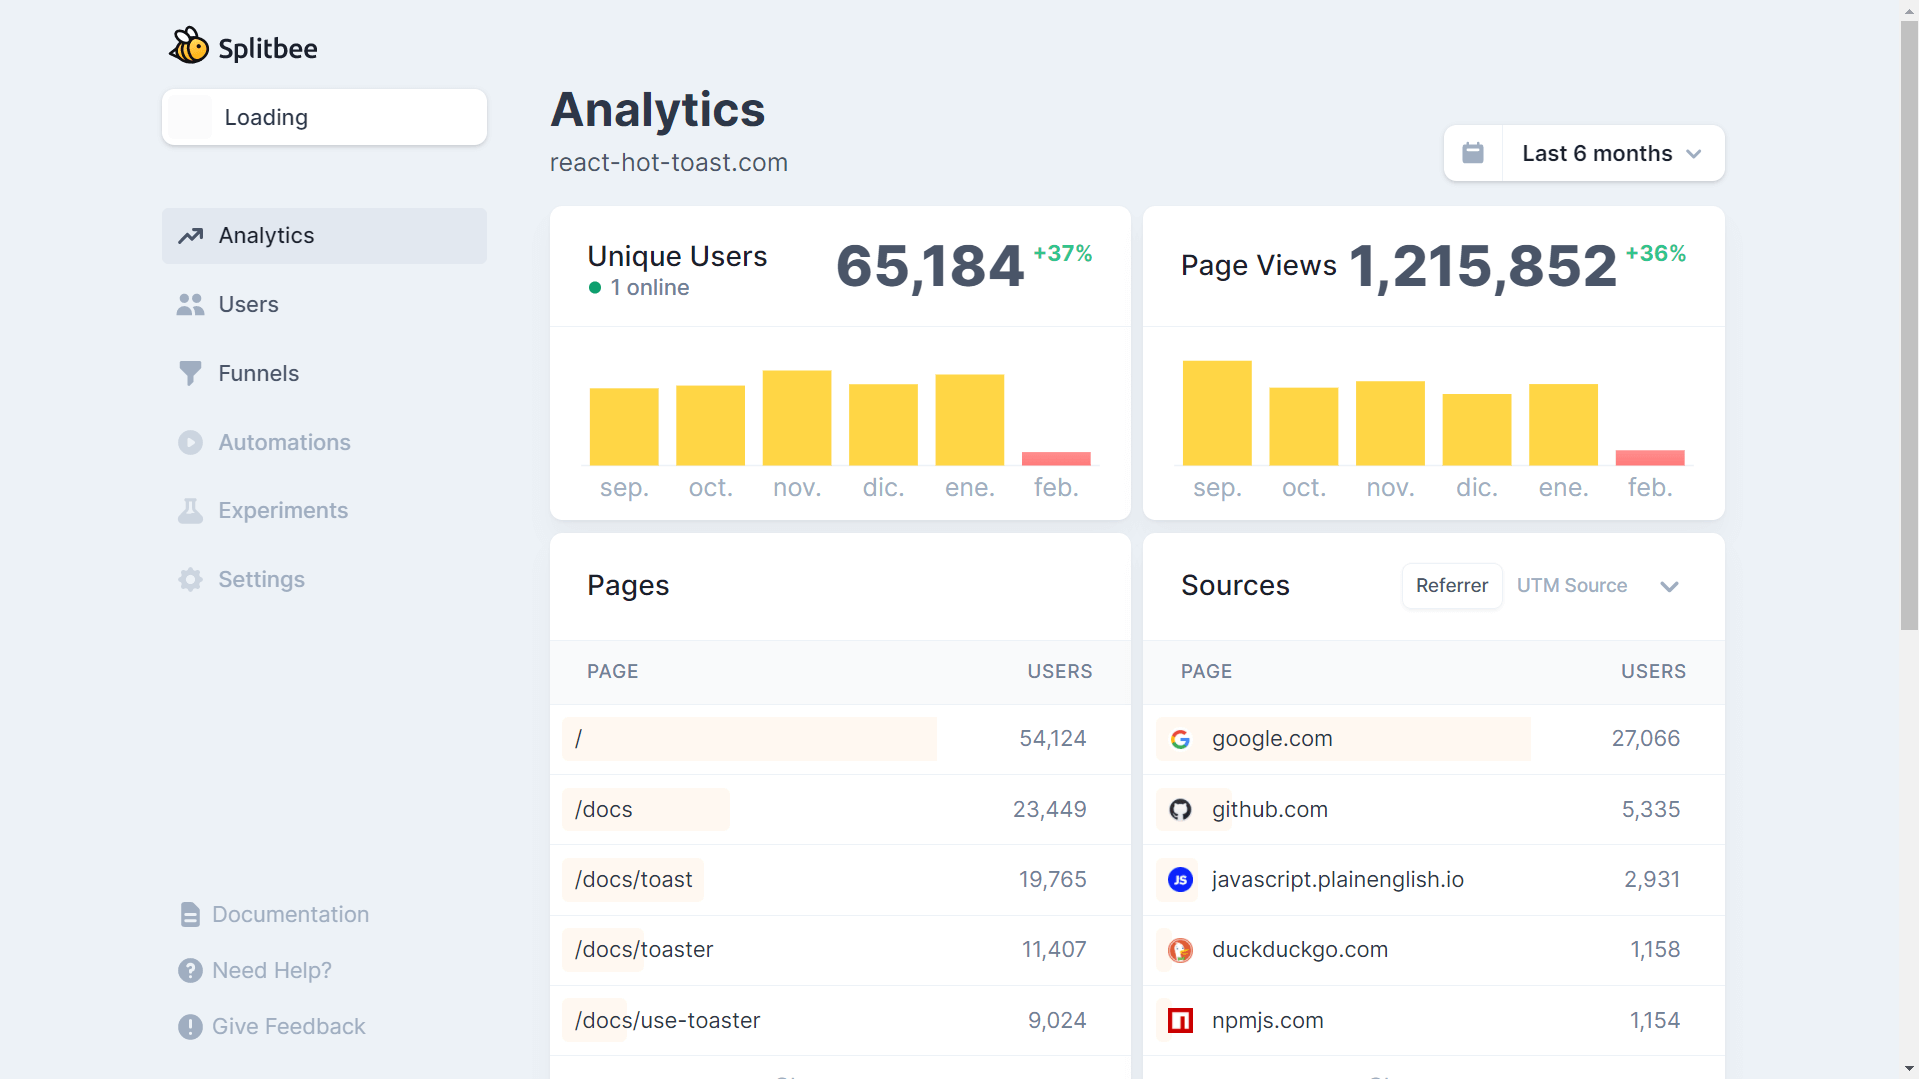
export default App;And now we have everything ready, and with this, we can have statistics of visitors to our site, including the countries from which they visit us, the number of views, and even from what website our users came.
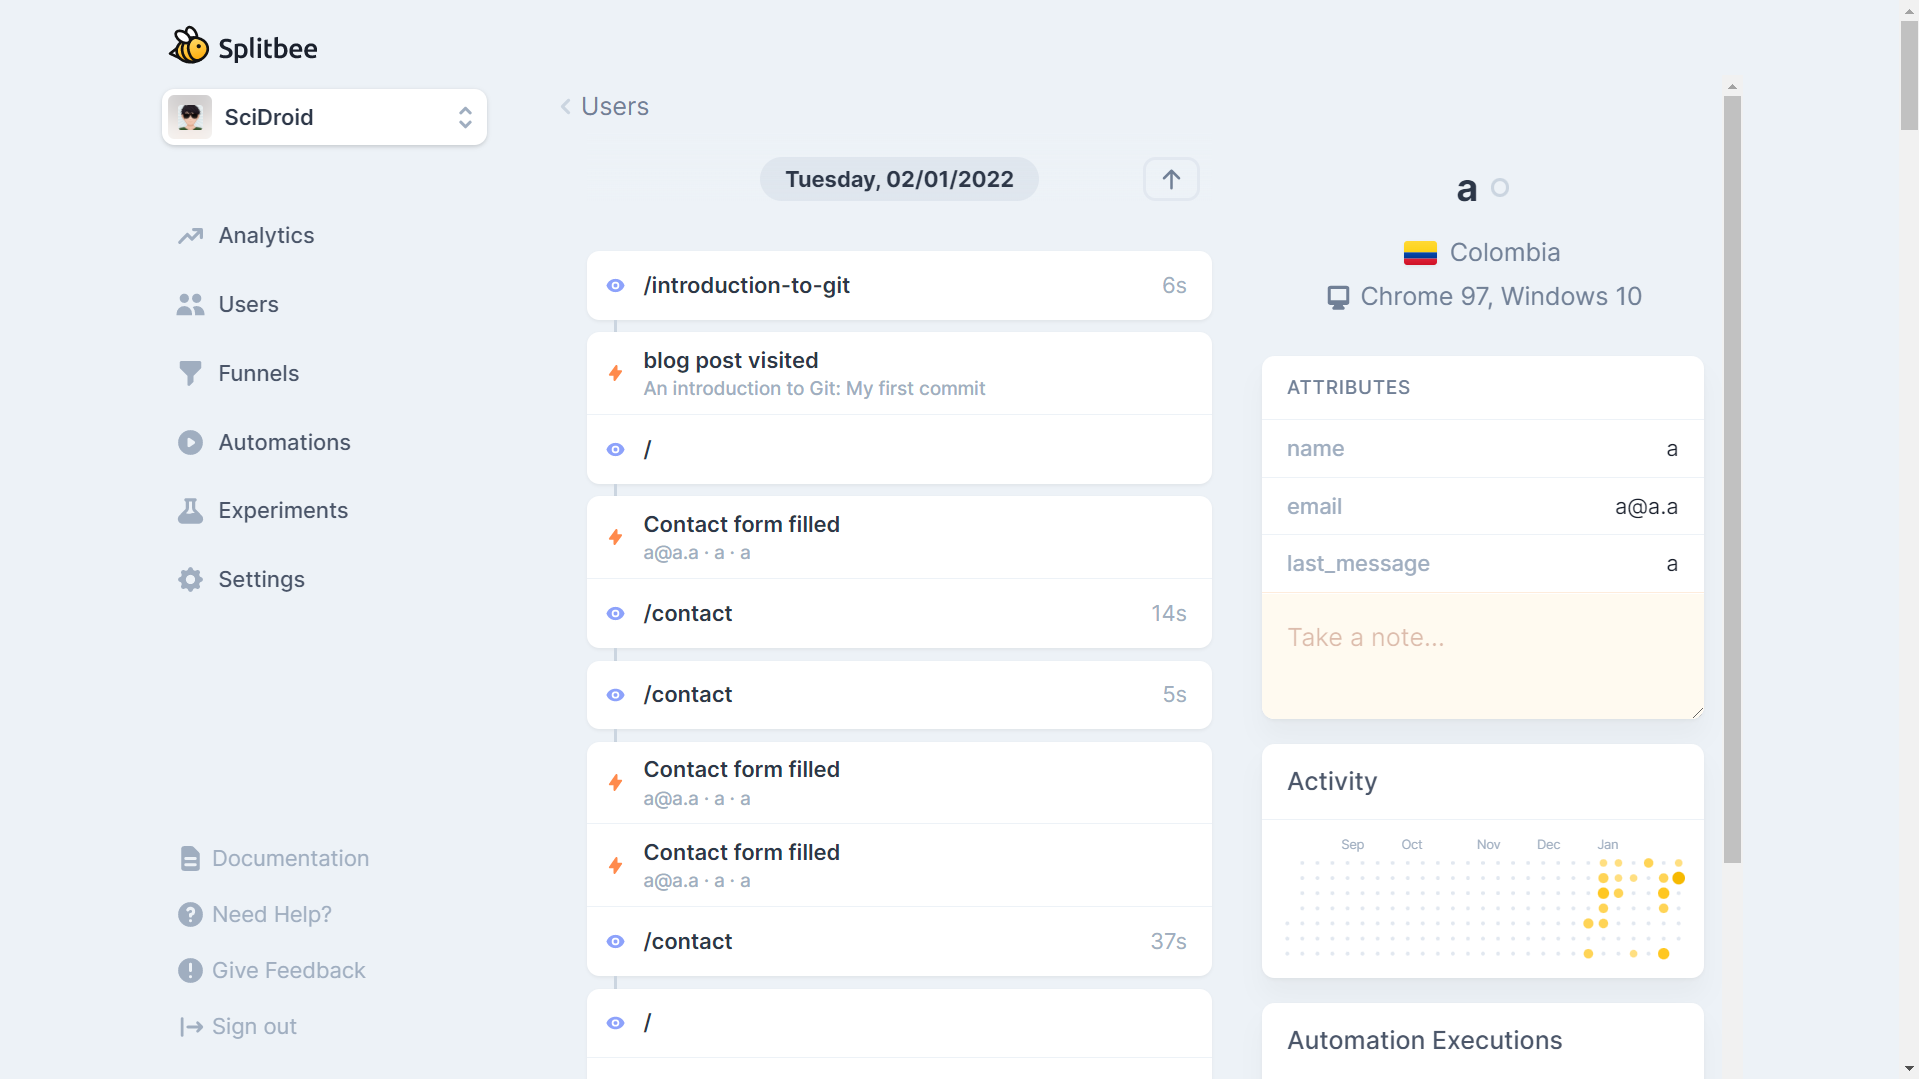
And if we visit our Splitbee panel we will be able to see something like this.
Other features
Splitbee in addition to all the above mentioned allows us to manage events and store user data, now we will learn how to use them.
First, we will make a function that will allow us to handle events, which is nothing more than an indicator that an action was performed, and we can give a name and other additional values.
In the second function, we will be able to add parameters to the users, for example on the analytics page we can identify the actions of our users by being able to relate them with their names, as in the example below.
// utils/analytics.js

import splitbee from '@splitbee/web';

// Events
const trackEvent = (event, details) => splitbee.track(event, details);

// Save user data
const setUser = (name, email) =>
  splitbee.user.set({
    name,
    email
  });
And this can be implemented in different ways, here are some examples:
Record the event with a button press
import { trackEvent } from 'utils/analytics';

const ButtonWithEvent = ({ name, children }) => {
  return (
    <button onClick={(() => trackEvent('Button clicked'), { id: name })}>
      {children}
    </button>
  );
};
Define user when filling out a form
import { setUser } from 'utils/analytics';
const SignUpForm = () => {
return (
<form onSubmit={() => setUser(name, email)}>
<input type='text' name='name' />
<input type='email' name='email' />
<input type='submit' />
</form>
);
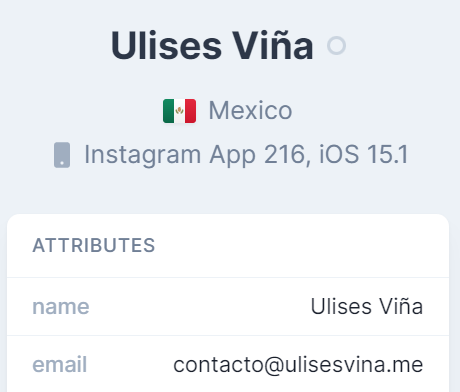
};In the end, by mixing events and setting user data we can have very complete navigation statistics as seen below.